Posts

Showing posts with the label Cricut

Making a Print & Cut Sticker Book For Our Grandson - A Cricut Project

Image
  I'm so excited about this project, quite possibly because it's for one of my favorite people on earth. Our grandson.  :-)  I took photos from his visit to our farm this summer, converted them to coloring book pages, added additional pages by googling " farm coloring book pages" or specifically "goat coloring page", and then I made two pages of stickers using the print and cut feature in Cricuts Design space, and bound it all together  into a book for him. For the next one, I am going to do coloring pages of construction equipment, and photo stickers of him and his daddy and his Opa, to add to the pages... Cliff Notes: Look for longer notes at the top of each section of how to's - I've divided this into sections: Making the Stickers, Making the Coloring Pages, & Binding. Avery sticker paper .  (I found a pack at our thrift store!) Flatten.  Always flatten with print and cut!   Or upload pngs - pngs upload as print and cut images. I used the B...

Making Christmas Throw Pillows

Image
Throw pillow covers are one of my favorite things to make.  Plain fabric is cheap, and throw pillow inserts are also very cheap at Wal-Mart.  Sewing simple envelope covers is one of the most basic beginner sewing projects. If you can sew a straight seam 4 times, you can make an envelope pillow cover in minutes. Below are the "how to's" for where and how I got these designs Tips: Always use HTV on fabric.  Don't forget to mirror your design! The fabric for envelope pillow covers needs to be the same width of the pillow, and the length is the width x2 +4.  So for an 18 inch pillow, the fabric needs to be 18 inches wide and 40 inches long. More information on sewing the pillow covers, and links if you prefer to buy them -  https://fieldsofhether.blogspot.com/2017/11/pillows-curtains-sewing-cricut.html There's a list of ready made free svgs that are great for Christmas throw pillows, here:  http://fieldsofhether.blogspot.com/2018/12/free-svgs-for-christmas-th...

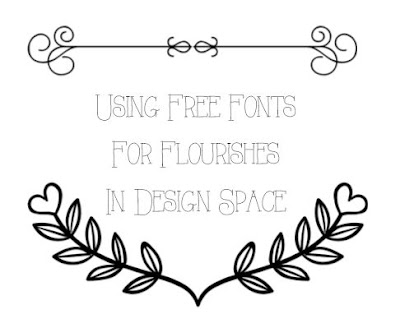
The Best Fonts For Flourishes in Design Space -

Image
Cliff Notes: Similar to "fonts with tails" (easy glyphs), like in the  I Love Glitter font, but these fonts are ALL glyphs.  (See fonts with tails cheat sheet here) Don't install them all!  Use fontlab pad and open what you want to use right from the zipfile.  Less clutter! Lists of pretties, arrows, and frames, below, with a short list of free sites with svg files for flourishes at the bottom. All the fonts listed below are free, and found on Dafont. Fonts are my favorites for lines! You can just install the font to your computer, then in design space find the font under "system fonts".  Now type the letter, or number,  from the fonts chart to get the corresponding line. I suggest you do NOT do that though.  If you install all of these fonts, they are really going to clutter up your font list.  Instead, create a folder named "Flourishes".  Save the zip files for each of these fonts in that folder.  ALSO, on the page for each font, ...

Tips & Tricks For Making Faux Leather Earrings With Cricut

Image
After spending two days making earrings, out of all sorts of different faux leathers, I have a better idea of which settings work..  Although I admittedly still have a lot to learn!  These are all the things that worked, and did not work, for me as I made what feels like a zillion pairs this week. The Cliff Notes: Faux leather  from a local fabric surplus store .  (But you can buy it at any craft store, and many fabric stores.) Roughly $3 a sq foot appears normal,  I used the Cricut Air 2 , & the regular blade that came in the machine, & also a deep cut blade.  Almost always the regular fine point blade did MUCH better than the deep cut. I used the purple mat, and a brand new green mat.   A sticky mat is SO important, be prepared to wash it after every cut or at least every other. Long list of free svgs for faux leather earrings , here : http://fieldsofhether.blogspot.com/2018/09/free-svgs-for-faux-leather-earrings.html How to make...